Building The Bike

I have not written anything here in a few months. There are a few reasons for that but my preference here is just to proudly say: "I was busy building a bike." Here's that story.
My great appreciation of bicycles has grown slowly but dynamically since I was a child and, more recently, exploded...exponentially. This is the story of how and why I built my first bike - from raw steel to rolling wheels.
The first bike I rode was a blue Kent BMX, like this one, handed down from my older brother. It still hangs in my parents' garage today. Since then, I have been biking to work since my first day of work, for almost a decade. First on a Marin hybrid, then on a Dahon Mariner folding bike and, most recently, on a Surly Long Haul Trucker.
Apart from riding, over the course of the past three years, nearly all of my intellectual and professional endeavors involved biking. Most notably, and recently, as the co-creator and project lead for CyclePhilly. I also recently completed an MBA in entrepreneurship and innovation management at Drexel, principally focusing on the bike industry and the economic impacts of biking. These pursuits have given me greater perspective on the importance of biking and its social significance. However, despite all this, I still lacked an appreciation of what it truly takes to build a bike from scratch. Therefore, in February 2015 I set out to take a bike building course.
My initial search for classes returned no results. However, some luck, or maybe just reward for curiosity, sat me in front of this totally awesome guy at this PhillyCHI event. We got to talking about bikes and, when I mentioned that I wanted to build one, he recommended I check out Krauss Bicycles. So, of course, I immediately submitted this quick inquiry using Krauss' website contact form:
Hey, I'm wondering if you know of any classes, resources etc. for learning how to build bikes. I am interested in building my own frame from scratch.
Curtis, the owner of Krauss Bicycles (also now a member of my top 10 list of the most amazing people I have ever met) promptly replied and offered to teach me.
We started on March 13, 2015 and spent at least one night a week crafting what would become my dream bike. It's behind me right now and, like a kid who just got The Greatest Greatest Christmas Toy Ever, I am so obsessed with the finished product that I keep looking back to make sure it is still there and, also, hug it with my mind.
The Design
I commute to work and just about everywhere in Philadelphia by bike. So my goal was to build my ultimate commuter bike.
Commuting by bike in Philadelphia involves several factors (some of which I am trying to change):
Frequent starts and stops
Little opportunity for speeds above 25 mph (due to frequent starts and stops)
Heavy vehicle traffic along main bike routes during rush hour
Wind
Heavy Wind
Heavy Heavy Wind
All the usual potholes and road hazards found in a city
Various types of tire-flattening road debris
Hazards (pedestrians, cars, other bikers)
My short, and relatively weak legs, arms etc.
That being said, Philadelphia is a great place to commute by bike. You can get pretty much anywhere in 20 minutes, there are some good routes that cross the city east and west, north and south and, once you get out there, you'll find you are in good company with your fellow cyclists. Nonetheless, this assessment of Philly's commuting environment and my needs as a rider yielded these requirements:
Fast acceleration off the line
Tire impact/puncture resistance
Frame impact absorption
High maneuverability
Quick and responsive braking
BMX-level agility
Minimal gearing
Relatively low cost.
The frame material is steel, Chromoly double butted steel tubes. All of the frame measurements were precisely calculated using Bike Cad to provide truly incomparable balance and stability unique to my physical characteristics. The frame geometry is an ultra compact 52 cm with the rear wheel ridiculously close to the crank to aid acceleration. In fact, the wheel is so close to the seat tube that, to do the same thing, Bianchi cuts a divet out of the seat tube. We used 26" wheels to get the same effective fit and slapped puncture resistant slick road tires on them.
Moreover, when I ride to work I rarely use more than three gears or hit speeds over 25 mph, so we thought it best to minimize and/or eliminate any gears. For this, we settled on a modified 2-speed automatic SRAM Automatix Shifter, to allow for quick acceleration. (While I cannot find any raw data to compare, I've timed myself accelerating to over 25 mph in 8 seconds. I can hardly get to 25mph at all on my Surly.)
The rest of the componentry is pretty standard except for the bullhorn handlebars with brakes on both the cross bar and horns. With a bike this fast I want to be able to find a brake wherever my hands are at any given time.
The Build
If you ride a bike regularly but never investigated how one is built, I can assure you that building a bike will open up a whole new perspective on something you've most likely taken for granted until now. Here's why:
A BIKE FRAME IS ONE OF THE MOST PRECISELY AND BEAUTIFULLY ENGINEERED PRODUCTS THAT EXISTS.
Let me say it again, but differently, a bike frame is every bit as complicated as any other sophisticated engineered product. If Jony Ive were doing one of his fancy Apple commercials but, instead, was explaining how he designed and built my bike, his head will likely explode about 30 seconds in because a bike frame and build is every bit as complex and impressive. In fact, replace any Apple product name in here with "bike" and you've got an idea of how much I now revere bike design:
All the engineering, materials, planning and design - we take them for granted because we have been riding bikes since the 1890s. The proximity of the rear tire to the crank makes all the difference as does the angle of the seat, head and other frame tubes. These things work in harmony to create a truly unique experience for the rider. Precision matters. Every angle and measurement counts. After building my own, I know and appreciate that and, if you ride a bike, you should too.
The second most important thing to take away from building a frame from scratch is that it is HARD WORK. Not only must you measure and cut the tubes with the utmost precision, if you are building a lugged bike, (lugs are the joints that the tubes go into to join them together) you'll need to file, miter and shape every tube end to exactly mimic the interior shape of the adjoining tubes. The less accurate those shapes, the less sturdy your bike, because you will have to fill those supplemental gaps with brazing or, worse, start over.
So get ready to grind:
...and grind some more:
...and then grind:
Then there are also, of course, aesthetic elements to the bike. While the triangular frame shape is pretty much the proven design standard with minimal room for variation on a lugged frame, you'll have the option to shape some elements, like the seat stays. This is also hard work, but rewarding. For example, I spent eight hours shaping, filing and grinding my seat stays, but it was worth it.
They started like this:
I carved them into this:
...so they could end up looking like this:
Brazing
Once you have shaped and shaved all of your tubing, it's time to braze the tubes to the lugs. Good brazing is a skill that develops from years of experience. It's like a symphony in my mind. There are various elements and chemical reactions that have to come together to create a beautiful flowing braze. Namely, the brazing element, in this case, silver which finds its home via torch-heated steel and FLUX.
A word about Flux:
Flux is the coolest chemical I have ever seen in action. In short, it goes on all creamy, then gets flaky with heat, and, when the right amount of heat is applied, turns to clear liquid letting you know it is ready for brazing. When in liquid form, it interacts with the silver and actually sucks it through the gaps between the tubing and lug. Once you are done it crystallizes.
Plus, if you mess up, you can pretty much do it all again because it will change forms back to liquid with more heat.
Filing
Once all the joints are brazed, filing the excess silver off of the lugs and adjoining tubes begins. This is a time consuming and somewhat tedious process. I liken it to a sculptor or jewelry maker's work, depending on how much pride you take in it. I took a lot of pride in the process using a variety of different sand papers and filing instruments, including jeweler files.
Once filing is done and all the edges are clean, you are just about ready to bring the bike in for painting. But first, as Curtis would describe it, the only way to earn a diploma in "bike building 101" is to successfully complete the final step of the build: cutting the release for the seat clamp. This entails using a powerful hand grinder to cut a relatively narrow gap in the seat tube bracket. This maneuver creates the release to fit seat in in place.
No problem, right? Just hold a super fast spinning blade upside down for the first or second time in your life and jam it into thick reinforced steel to precisely cut a line down the back of an already narrow tube. Success in this endeavor equals glory, while failure basically means you have to start over.
Here's the catch though: if you worked hard enough filing, grinding and sanding up to this point, it should be easy, and I did, so it was:
Paint
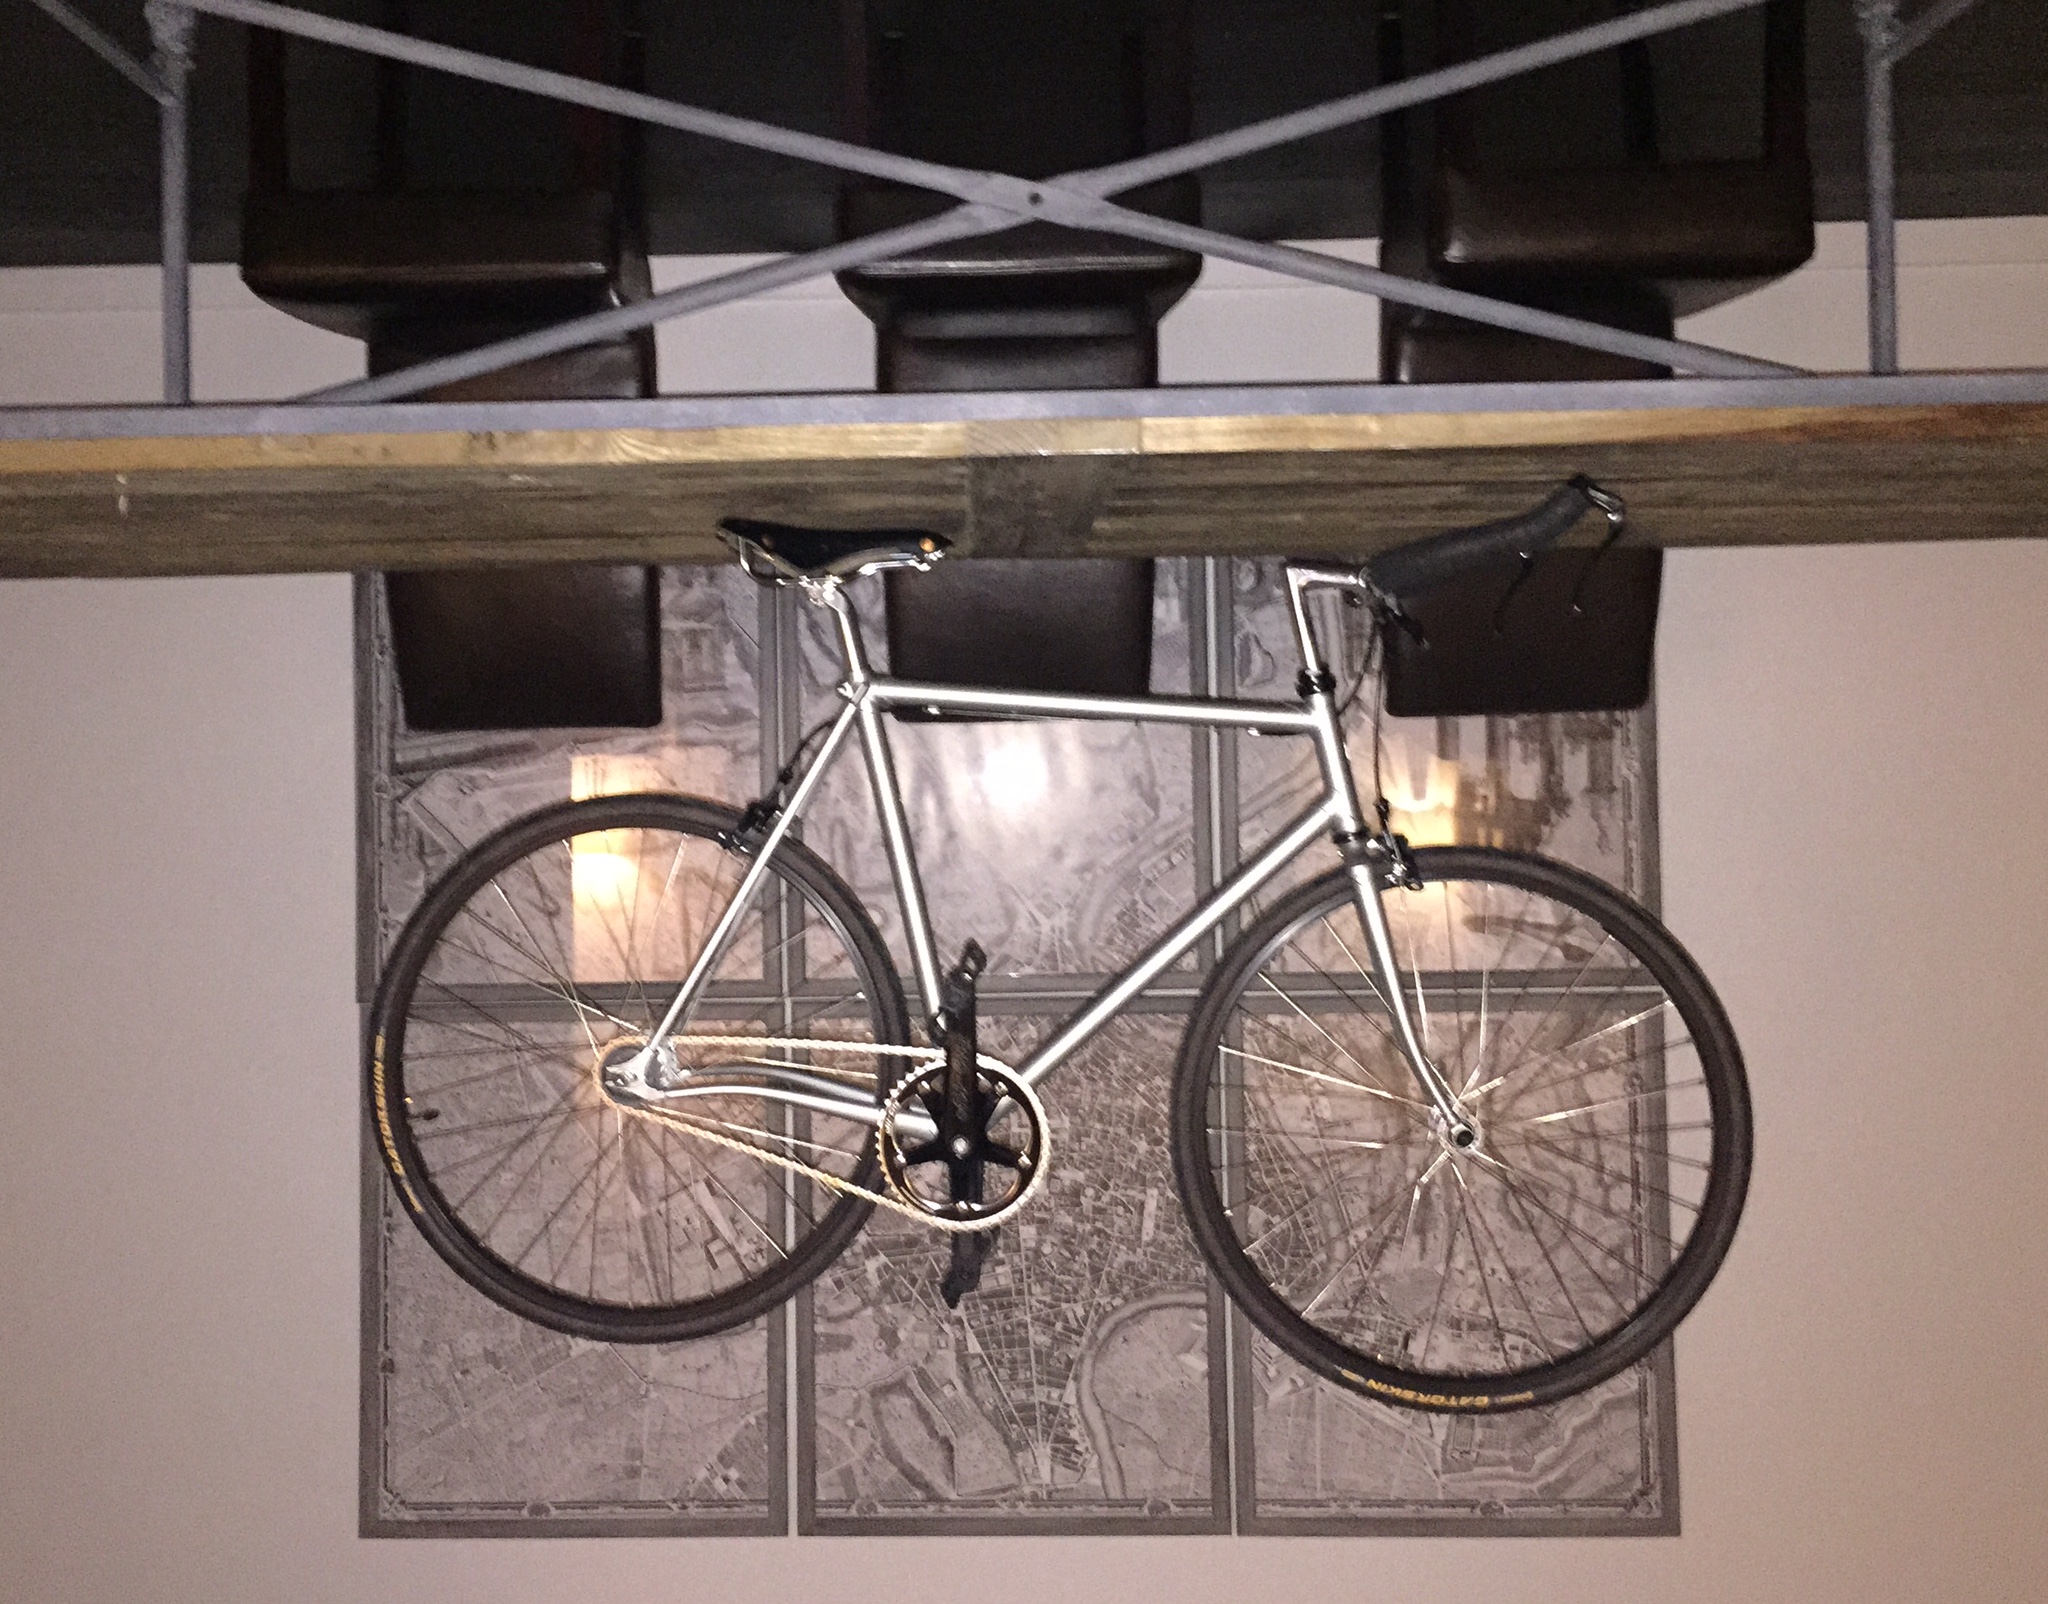
With filing, polishing and seat clamp release completed, it was time for paint. Curtis recommended a shop in Bucks county that did a fantastic job. Going into the build, I intended to have a simple all black bike. However, before sending it off for painting, we did a test build and, with all the components on it, the bike look beautiful with no paint and just a pure steel frame:
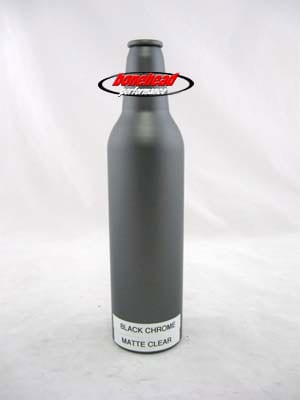
Pretty sweet right? I thought so. So when I brought the bike into the paint shop, I aimed to mimic that look as closely as I possibly could with paint. Ultimately, the closest match was black chrome matte, producing these spectacular results:


The black chrome allows the bike to closely mimic the properties of the original steel while still having a finished look. It also reflects the light similarly.
Completion
On a rainy Thursday evening in August, over four months after we started the build, I hurried over to Curtis' shop to place all the components on the bike and complete my bike building journey. On my way into the shop my excitement level was almost embarrassing. In fact, I am not sure I remember being that excited since Christmas 1983. It is one thing to set out to do something dramatic, but another to realize it. I would venture to say that there is nothing quite like seeing a completed product that you poured your heart into to remind you that nothing is insurmountable. All of these feelings were present on my way into the shop that night.
There is no need to go into vivid details about slapping components on a bike, doing so is relatively unremarkable. It was the journey to that point that mattered most. The build went smoothly and quickly, I nearly cried and thanked Curtis repeatedly for giving me a lot more than a bike...and I took it home:

Conclusion
Building this bike has been one of the best physical, emotional, highly personal and intellectually challenging experiences of my life, opening my eyes to so many facets of bike culture and design that I never knew existed. It also introduced me to some of the coolest people I have met to date, which is really the point of documenting this whole process.
Bikes are the great common denominator. They help individuals find common ground, build communities and boost local economies all with obvious health and environmental benefits. Bikes will also play an instrumental role in transforming local urban infrastructure and mobility over the course of the next ten years. I say this with confidence as a strategist, civic activist, technologist, urbanist, bike enthusiast and, hopefully, someone who will one day contribute to making this all happen but, first, I still have some more learning, building and riding to do.